Using a natural kitchen degreaser non toxic can transform your cleaning routine. Not only are these homemade solutions safe for your family and pets, but they also reduce pollution and are biodegradable. Plus, you can whip one up at home for literal pennies using common pantry ingredients! Why not take a step towards a cleaner, safer kitchen today?
Key Takeaways
- Making your own natural kitchen degreaser is easy and cost-effective. Use common ingredients like vinegar, liquid soap, and baking soda to create a safe cleaning solution.
- Store your homemade degreaser in a cool, dark place and label it with the date. Use it within a month for the best results.
- Apply the degreaser from a distance and let it sit for a few minutes to break down grease effectively. Use a microfiber cloth for the best cleaning results.
Ingredients and Tools
Common Ingredients
Creating your own natural kitchen degreaser is simple and requires just a few common ingredients. Here’s what you’ll need:
- Vinegar: This is a superstar ingredient! Its acidity helps break down grease effectively.
- Liquid soap: A surfactant that lifts grease from surfaces, making it easier to clean.
- Baking soda: This mild abrasive works wonders for scrubbing away stubborn grease.
These ingredients are not only effective but also safe for your family and pets. You can find them in your pantry, making them perfect for homemade solutions.
Essential Tools
To whip up your natural degreaser, you’ll need a few basic tools:
- Spray bottle: This is essential for easy application. A clean, empty spray bottle works best.
- Mixing bowl: Use this to combine your ingredients before transferring them to the spray bottle.
- Measuring cups: Accurate measurements ensure your degreaser works effectively.
With these ingredients and tools, you’re all set to create your own all-natural degreasers. Remember, using natural ingredients not only helps your kitchen stay clean but also contributes to a healthier environment.
How to Make a Natural Kitchen Degreaser
Mixing Instructions
Making your own natural kitchen degreaser is a breeze! Here’s a simple recipe to get you started:
- Gather your ingredients: You’ll need 1 cup of vinegar, 3 cups of warm water, and a few drops of liquid soap (like castile soap).
- Combine the ingredients: In a mixing bowl, pour in the vinegar and warm water. Add the liquid soap gently to avoid too many bubbles.
- Mix well: Stir the mixture until everything is well combined. You want the soap to be evenly distributed throughout the solution.
- Transfer to a spray bottle: Carefully pour the mixture into your spray bottle. Make sure to leave some space at the top for shaking.
Tip: Shake the bottle gently before each use to ensure the ingredients mix well again!
Storage Tips
Storing your natural kitchen degreaser properly can extend its shelf life and maintain its effectiveness. Here are some handy tips:
- Keep it cool: Store your degreaser in a cool, dark place. Avoid direct sunlight, as it can degrade the ingredients over time.
- Label your bottle: Clearly label your spray bottle with the contents and the date you made it. This helps you keep track of freshness.
- Use within a month: For the best results, try to use your natural kitchen degreaser within a month. If you notice any changes in smell or appearance, it’s best to make a fresh batch.
Using a natural kitchen degreaser non toxic not only helps keep your kitchen clean but also ensures a safer environment for your family. Plus, it’s a great way to reduce waste and avoid harsh chemicals!
Comparing Effectiveness
You might wonder how effective your homemade degreaser is compared to commercial options. Here’s a quick comparison:
| Feature | Baking Soda & Lemon Juice | Commercial Degreasers |
|---|---|---|
| Effectiveness | Limited, takes longer to remove grease | Highly effective, works quickly |
| Speed | Takes about 5 minutes | Completes in about 30 seconds |
| Surface Safety | Can mark delicate surfaces | Formulated to be safer on various surfaces |
| Cleaning Mechanism | Mildly abrasive, lifts grease | Breaks grease at the molecular level |
As you can see, while homemade solutions may take a bit longer, they are still effective and safe for everyday use!
How to Use a Natural Degreaser Effectively
Application Tips
Using a natural kitchen degreaser non toxic can be straightforward if you follow a few best practices. Here are some tips to help you get the most out of your degreasing spray:
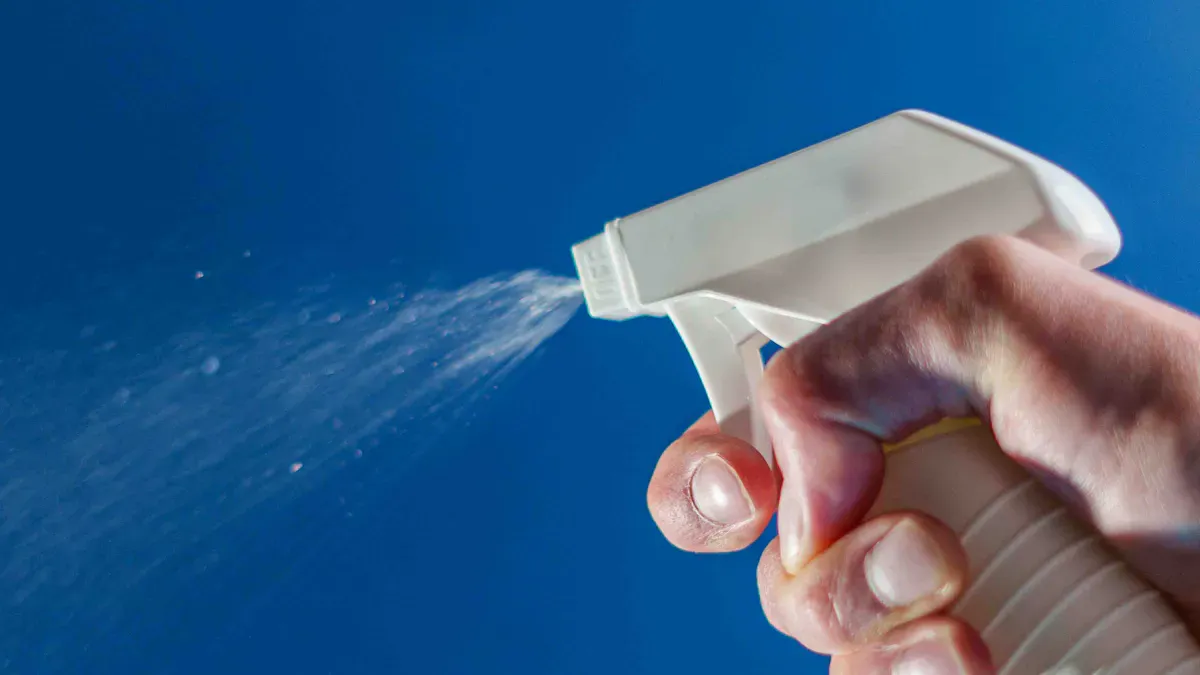
- Spray from a distance: Hold the spray bottle about 6-12 inches away from the surface. This helps distribute the degreaser evenly and prevents oversaturation.
- Let it sit: After spraying, allow the degreaser to sit for a few minutes. This gives it time to break down the grease effectively. For tougher stains, consider letting it sit for up to 15 minutes.
- Use a microfiber cloth: These cloths are great for trapping dirt and grease. They’re also reusable, making them an eco-friendly choice.
- Wipe in a circular motion: This technique helps lift the grease off the surface more effectively. It also prevents streaks from forming.
By following these simple tips, you can ensure that your natural degreaser works its magic, leaving your kitchen surfaces sparkling clean.
Dealing with Stubborn Grease
Sometimes, grease can be particularly stubborn. Don’t worry! Here are some effective techniques to tackle those tough spots:
- Mixing Ingredients: For a basic cleaner, combine 8 cups of warm water with 3 drops of liquid dish soap or castile soap. This creates a gentle yet effective solution.
- Vinegar Solution: For tougher stains, mix 1 cup of vinegar with 3 cups of warm water and a few drops of soap. Spray this mixture on the greasy area, let it sit for 15 minutes, then wipe clean.
- Baking Soda Paste: For sticky spots, create a paste using baking soda and water. Scrub it into the grease, then wipe it away with a damp cloth.
- Regular Maintenance: Clean surfaces at least once a month to prevent grease buildup. This makes future cleaning much easier.
- Spot Testing: Always test your degreaser on a small area first, especially on sensitive materials like stone or wood. This ensures you won’t damage the surface.
- Allow to Sit: For tough stains, let the degreaser sit for 15 minutes or longer before wiping it away. This extra time can make a big difference.
- Rinse Thoroughly: After cleaning, use a damp cloth to remove any residue. This step is crucial to avoid leaving behind any soap or vinegar.
- Dry Surfaces: Finally, wipe down surfaces with a clean cloth to prevent moisture damage.
With these strategies, you’ll be well-equipped to handle even the most stubborn grease in your kitchen. Remember, using a natural degreaser not only keeps your kitchen clean but also contributes to a healthier environment.
Making your own natural kitchen degreaser is a smart choice. It’s non-toxic, effective, and easy to create. You can keep your kitchen clean without harmful chemicals. Why not give it a try? Share your experiences and tips with others. Let’s make our kitchens safer together!
FAQ
What surfaces can I use the natural degreaser on?
You can use it on countertops, stovetops, and appliances. Always test on a small area first!
How often should I use the natural degreaser?
For best results, use it weekly or as needed to prevent grease buildup.
Can I add essential oils to the degreaser?
Absolutely! Adding a few drops of essential oils can enhance the scent and provide additional cleaning properties.